First Wine Kit: Cabernet-Merlot
It is difficult to decide where to start, because I like all varietals of wine. I prefer red wine, so I decided I should definitely get a red wine kit. I was getting a starter pack that included all of the equipment to make wine as well as a wine kit, and there were limited selections included in this option. I chose the Winexpert Selection Premium Cabernet-merlot. It sounded like a higher quality kit, and hopefully I’d have a better chance at getting a drinkable wine. I had very low expectations, I looked at this as an experiment. Worse case, I wouldn’t like the wine and wouldn’t ever make any more.
I got my kit, and it had all sorts of confusing parts in it. I sat down and tried to figure out what they were all for.
Primary fermentation bucket — name is description, this is where the first part of the fermentation happens
Glass carboy — for secondary fermentation and subsequent racking stages for clearing and stabilizing.
Spoon
Spoon – note the 2 different ends. The “spoon” side is useful for stirring up the juice of the wine kit with whatever water needs to be added for dilution, and for stirring in the bentonite. The small end fits into the neck of a carboy (the spoon end will NOT).

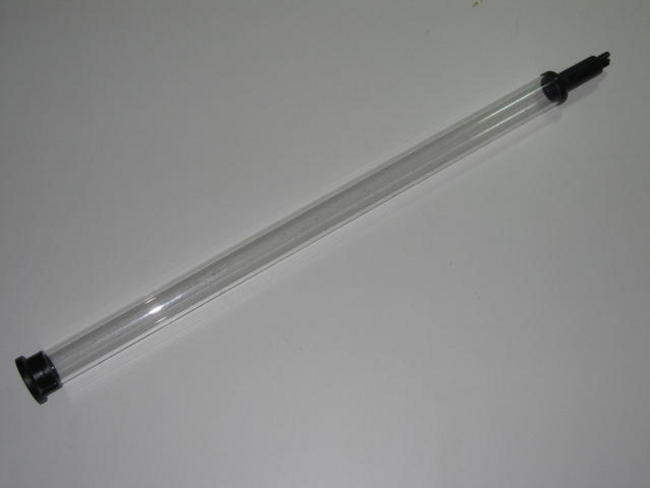
Winethief
Plastic wine thief – this thief has a cool mechanism that stops up wine at the end. The diameter of the thief is big enough to put a hydrometer directly in for testing, which was very convenient.
- autosiphon
Auto-siphon – my husband was actually impressed with this. He had been using a plain siphon for his beer, where you have to suck on it to start it. The auto siphon is so easy, you just give it a few pumps and you don’t have to get spit in your finished product. However, I found out you DO have to watch where the end of the hose goes while you’re pumping, or it’ll siphon all over your leg and the floor instead of into the carboy (oops)
Bottle brush, for cleaning out bottles
floor corker
Floor corker – I got the “premium” starter kit, which had a floor corker instead of a hand corker. The hand corker looked a little scary to me, and so I actually went with the upgraded starter pack primarily because of the corker. The choice of kits included was also a factor, though.
Easy clean sanitizer/cleaner
30 premium corks
Buon Vino automatic gravity bottle filler
I accidentally threw away the airlock, bung, and hydrometer. Luckily, my hubby had all of these things from his beer brewing, so I could start without having to get new ones first.
So, I got started. I opened the wine kit box, and there were several things inside much to my surprise – I expected it to just be a bag of juice. The kit included detailed instructions, a bag of oak chips, and several packets of chemicals to add – bentonite, metabisuphite, sorbate, and fining agent, as well as a packet of yeast. I actually read through the instructions once first, then I braced myself. I figured if I was going to screw it up, I’d do it right from the start. I diligently cleaned everything I would need, then got started.
First, the bentonite gets dissolved in warm water in the bucket.
Next, you pour the wine into the bucket. This was not a pretty site, because the juice is quite heavy, and liquid tends to be wobbly. The box looked like it was meant to hold the juice while it was dispensed, so Ieft the bag in the box. Then I went to take the cap off of the bag. Hmmmm, it really doesn’t want to come off. I ended up grabbing a butter knife and wrangling the cap off, which eventually went flying off of the bag. I picked up the box and poured the juice into the bucket, which splashed everywhere, and the bucket slid away from me as I poured, making an even bigger mess. But, I got most of it in the bucket, and then filled the bucket to 6 gallons with filtered water from the refridgerator. I had watched my hubby fill his beer, so I did what he did, and took a piece of tubing and ran it from the water dispensor into the bucket directly.
I stirred it up well and took a specific gravity reading – 1.09. Perfect, the kit says it should be between 1.080 and 1.100. Finally, the oak chips got stirred in, and then the yeast was sprinkled on top. I put the lid on the bucket and waited.